| Panel | ||||||
|---|---|---|---|---|---|---|
| ||||||
The goal of this tutorial is to initiate youto the Spinalcom viewer. |
| Panel | |||||||
|---|---|---|---|---|---|---|---|
| |||||||
First create a new folder and initialize it using npm. Code Block | | ||||||
|
| Code Block | ||||
|---|---|---|---|---|
| ||||
$ npm iinstall https://github.com/spinalcom/spinal-browser-viewer.git |
B. By editing package.json
Add spinal-browser-drive to the dependencies in package.json.
package| Panel | ||||||
|---|---|---|---|---|---|---|
| ||||||
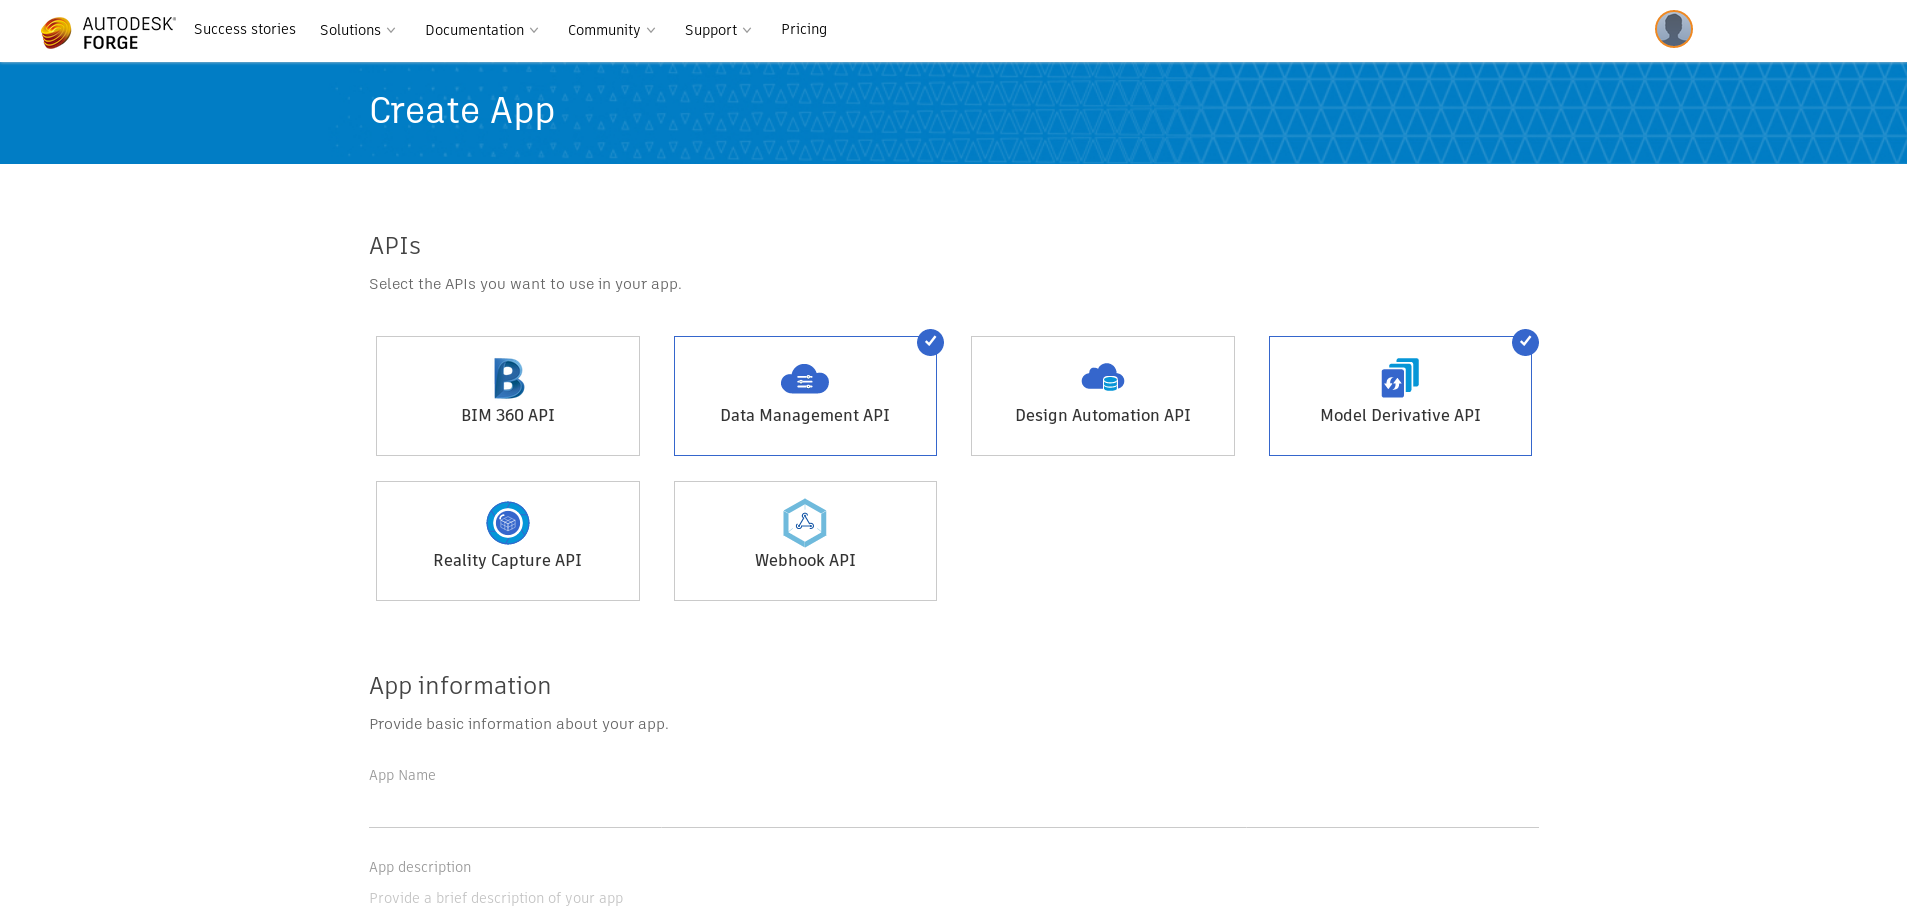
To use the viewer you're going to need a Autodesk Forge account. Create or log in: https://developer.autodesk.com/ Create an App with at least the Data Management API and Model Derivative API. The other labels don't matter. https://forge.autodesk.com/myapps/create |
After you created the app you will be given a client ID and a client secret in the app's information.
Put these information in .config.json in the environment of spinal-organ-forge.
.config.json
| Code Block | ||||||
|---|---|---|---|---|---|---|
| ||||||
{
  "spinal-core-hub": {
    "
name env": {"newfolder", "SPINALHUB_PORT": 7777, "version SPINALHUB_IP": "127.0.0.1" }, "env_test": { "SPINALHUB_PORT": 7777, "SPINALHUB_IP": "127.0.0.1" }, "description env_production": { "SPINALHUB_PORT": 7777,"main "SPINALHUB_IP": "index.js", 127.0.0.1" } }, "spinal-organ-forge": { "scripts env": { "test INTERVAL": 2000, "CLIENT_ID": "echo \"Error: no test specified\" && exit 1" }, "keywords": [], "author": "", "license": "ISC", // here "dependencies": { "spinal-browser-admin": "git+https://github.com/spinalcom/spinal-browser-viewer" } }Then install it using npm. REPLACE HERE",
"CLIENT_SECRET": "REPLACE HERE",
"SPINAL_USER_ID": "168",
"SPINAL_PASSWORD": "JHGgcz45JKilmzknzelf65ddDadggftIO98P"
},
"env_test": {
"INTERVAL": 2000,
"CLIENT_ID": "REPLACE HERE",
"CLIENT_SECRET": "REPLACE HERE",
"SPINAL_USER_ID": "168",
"SPINAL_PASSWORD": "JHGgcz45JKilmzknzelf65ddDadggftIO98P"
},
"env_production": {
"INTERVAL": 2000,
"CLIENT_ID": "REPLACE HERE",
"CLIENT_SECRET": "REPLACE HERE",
"SPINAL_USER_ID": "168",
"SPINAL_PASSWORD": "JHGgcz45JKilmzknzelf65ddDadggftIO98P"
}
}
} |
| Panel | ||||||||||||||||||||
|---|---|---|---|---|---|---|---|---|---|---|---|---|---|---|---|---|---|---|---|---|
| ||||||||||||||||||||
If you see a previously launched spinal-hub-7777 or spinal-hub-forge-7777 you need to delete them.
You can now restart your application with:
|
| Panel | ||||||
|---|---|---|---|---|---|---|
| ||||||
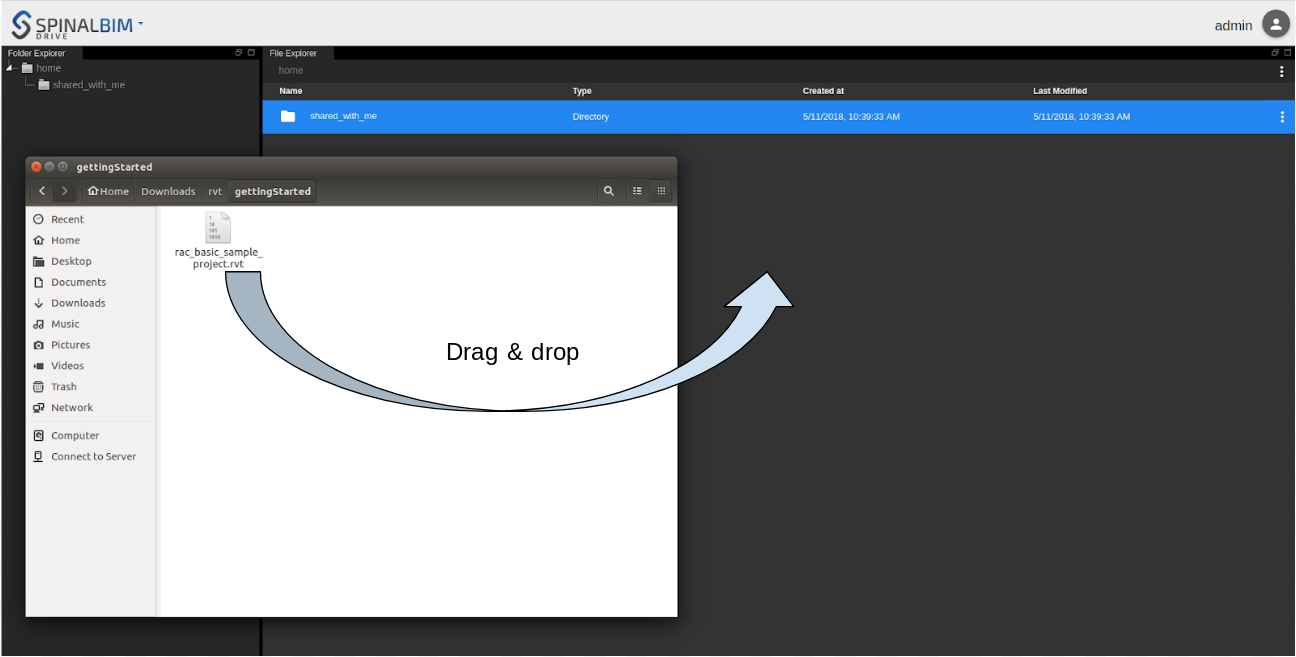
The drive and viewer is a browser application. To use it you need to access it via a browser (you may change the host/port corresponding to your .config.json file): http://127.0.0.1:7777/html/drive To create your BIM application you're going to need a rvt file. You can get one here: Once you downloaded it use your file manager to drag and drop it on the drive. Then right click on it and select Create BIM Project. |

